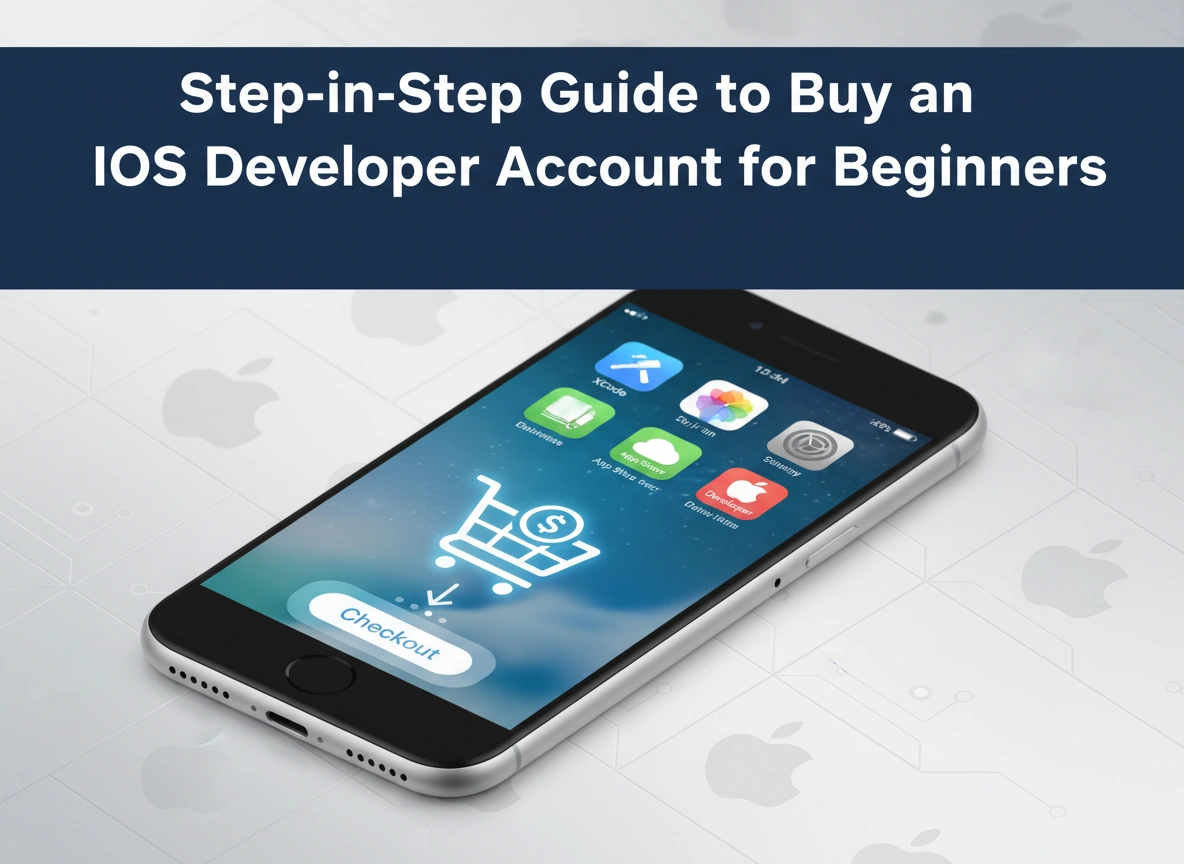
You have a brilliant app idea. You’ve sketched the user interface on napkins, maybe even started coding the core functionality. But an app isn’t truly an app until it’s in the hands of users, and for the Apple ecosystem, that path goes through one specific gatekeeper: The App Store. To open that gate, you need a key. That key is the Apple Developer Program membership.
Navigating Apple’s ecosystem can feel intimidating for newcomers. It’s known for strict guidelines, rigorous review processes, and high standards. However, the first hurdle—getting your developer account—shouldn’t be the thing that stops you.
This guide is designed to walk you through the entire process of purchasing Buy iOS Developer Account. We will break down every requirement, click, and form you need to handle so you can focus on what really matters: building your app.
Why You Need an Apple Developer Account
Before we dive into the “how,” let’s briefly touch on the “why.” You technically don’t need a paid account to learn Swift or to run an app on the Xcode simulator. You can even load an app onto your personal iPhone for testing with a free Apple ID (though it expires every 7 days).
So, why pay for the full membership?
- App Store Distribution: This is the big one. Without a paid account, you cannot publish your app on the App Store. If you want the world to download your creation, you need this membership.
- TestFlight Access: TestFlight is Apple’s tool for beta testing. It allows you to invite internal and external testers to try your app before it goes live. This feedback loop is crucial for a bug-free launch.
- Advanced Capabilities: A paid account grants access to capabilities like iCloud integration, Apple Pay, Push Notifications, and Game Center. Modern apps rely heavily on these features.
- Full Development Access: You gain access to all OS beta releases (iOS, iPadOS, macOS, watchOS, tvOS) before the general public, allowing you to prep your app for future updates.
Prerequisites: What You Need Before You Start
Don’t rush to the sign-up page just yet. Having your ducks in a row will prevent the frustration of getting stuck halfway through a form.
1. An Apple Device (Highly Recommended)
While you can technically register via the web, Apple strongly encourages (and sometimes requires) two-factor authentication (2FA) which works best if you own an Apple device like an iPhone, iPad, or Mac. Furthermore, to actually build the app, you will need a Mac to run Xcode.
2. A Valid D-U-N-S Number (For Organizations Only)
If you are enrolling as an individual (a sole proprietor or single developer), you can skip this. However, if you are enrolling as a company, non-profit, or government entity, you need a Data Universal Numbering System (D-U-N-S) number. This is a unique nine-digit identifier for businesses. It verifies your legal entity status. Obtaining one is free, but it can take a few weeks, so check this early.
3. Legal Authority
If enrolling as an organization, you must have the legal authority to bind your organization to legal agreements. Apple will verify this.
4. A Credit Card
Apple does not accept debit cards in all regions for the developer fee. A credit card is the safest bet to ensure the transaction goes through smoothly.
Phase 1: Creating Your Apple ID
Your developer account is tied directly to an Apple ID. You have a choice here: use your existing personal Apple ID or create a new one dedicated solely to your development work.
Pro Tip: Create a separate Apple ID. This keeps your personal emails, iCloud photos, and purchases separate from your business assets. It’s cleaner and safer in the long run.
Steps to Create a New Apple ID:
- Go to the Apple ID creation page (appleid.apple.com).
- Click on “Create Your Apple ID” at the top right.
- Fill in your details. Use your real name and date of birth. Apple verifies identity strictly; using a fake name will get your account flagged later.
- Use a professional email address that you check frequently.
- Set up your security questions and, crucially, Two-Factor Authentication (2FA). Apple now requires 2FA for all developer accounts to ensure security. You will need a verified phone number for this.
- Verify your email address via the code sent to your inbox.
Once your Apple ID is active and 2FA is enabled, you are ready for the main event.
Phase 2: Enrolling in the Apple Developer Program
You can enroll via the web or through the “Apple Developer” app on an iOS device. We will cover the web method as it is the most common, but the app method is streamlined and sometimes processes faster for individuals.
Step 1: Visit the Enrollment Page
Navigate to developer.apple.com/programs/enroll/. Click “Start Your Enrollment” at the bottom of the page.
Step 2: Sign In
Log in with the Apple ID you just created (or your existing one if you chose that route).
Step 3: Identity Verification
Apple needs to know you are a real person. You will be asked to provide personal information including your legal name, address, and phone number.
- Accuracy is Key: Ensure your name matches your government-issued ID exactly. If your ID says “Robert” do not write “Bob”.
Step 4: Select Entity Type
This is the most critical choice you will make. You will see a dropdown asking for your entity type.
- Individual / Sole Proprietor: Choose this if you are working alone. The account is linked to your name, and your personal name will appear as the “Seller” on the App Store.
- Company / Organization: Choose this if you have a registered business (LLC, Corp, etc.). This allows you to add other team members to the account later. Your company name will appear as the “Seller”. (Requires D-U-N-S number).
Step 5: Agree to Terms
You will be presented with the Apple Developer Program License Agreement. It is long and filled with legalese, but you must accept it to proceed. Tick the box and click Continue.
Phase 3: Payment Process and Costs
You are almost there. Now it is time to pay the gatekeeper.
The Cost:
The Apple Developer Program membership costs $99 USD per year (pricing varies slightly by region/currency).
The Process:
- Review your purchase details. Verify that the billing address matches the information on your credit card.
- Enter your payment information. As mentioned earlier, a credit card is preferred.
- Submit your order.
Processing Time:
- For Individuals: If you enrolled via the web, activation can take up to 48 hours, though it is often instant. If you enrolled via the Apple Developer app on iPhone, the purchase goes through as an in-app subscription and usually activates immediately.
- For Organizations: Apple takes longer to verify business documents. This can take anywhere from a few days to two weeks. They may call the phone number associated with your D-U-N-S profile to verify your identity.
Once the payment clears and Apple verifies your details, you will receive a “Welcome” email. Congratulations! You are now an official iOS Developer.
Tips for Beginners to Avoid Common Mistakes
Buying the account seems straightforward, but newcomers often trip over a few hurdles. Here is how to stay upright:
1. Don’t Let Membership Lapse
This is a subscription, not a one-time fee. If you fail to renew your $99 membership next year, Apple will remove your apps from the App Store. Set up auto-renew if possible, or mark your calendar.
2. Consistent Naming
If you sign up as an individual, you cannot change your “Seller Name” to a brand name later without converting your account to an Organization account. This conversion is possible but involves paperwork and time. If branding is crucial from Day 1, register a business first.
3. Two-Factor Authentication Management
If you lose access to the phone number or device associated with your 2FA, you could be locked out of your developer account. Always keep a trusted device or backup number handy.
4. Check Regional Restrictions
Apple Developer Program enrollment isn’t available in every single country on Earth due to US trade laws and local regulations. Verify your country is supported before buying an Apple device specifically for this purpose.
5. Keep Your D-U-N-S Updated
If enrolling as a company, ensure your information with Dun & Bradstreet (the company that issues D-U-N-S numbers) is current. If their database has your old address and you give Apple your new address, the mismatch will cause a rejection.
Conclusion
The journey of a thousand downloads begins with a single registration form. Buying an iOS Developer Account is your first professional commitment to your app idea. It signals a shift from “hobbyist” to “publisher.”
While the process requires attention to detail—specifically regarding identity verification and entity types—it is a well-trodden path. By following the steps outlined above, ensuring your documents are in order, and understanding the costs involved, you can secure your membership without stress.
Once that welcome email hits your inbox, the real fun begins. You can open Xcode, archive your build, and finally see your work on the App Store. The gate is open. Good luck with your development journey!